Roles
Developers can see most admin-only settings but can’t change them. The workspace name and billing controls are disabled with an “Admin access required” message. Root Keys is the exception: it doesn’t appear in a developer’s sidebar.
Plans that include team members
Compute Pro, Compute Business, and every paid API tier include team members. On Free or Compute Starter, Settings > Team shows Invite your team with an Upgrade button instead of the member list. See Plans. A workspace loses team access when it no longer has a plan that includes team members:- A paid API tier ends, and the workspace isn’t on Compute Pro or Business.
- The workspace is on the free API tier and moves from Compute Pro or Business to Compute Starter, or cancels Compute entirely.
Manage members
Admins manage members from the table on Settings > Team. Other roles see Admin access required instead of the table.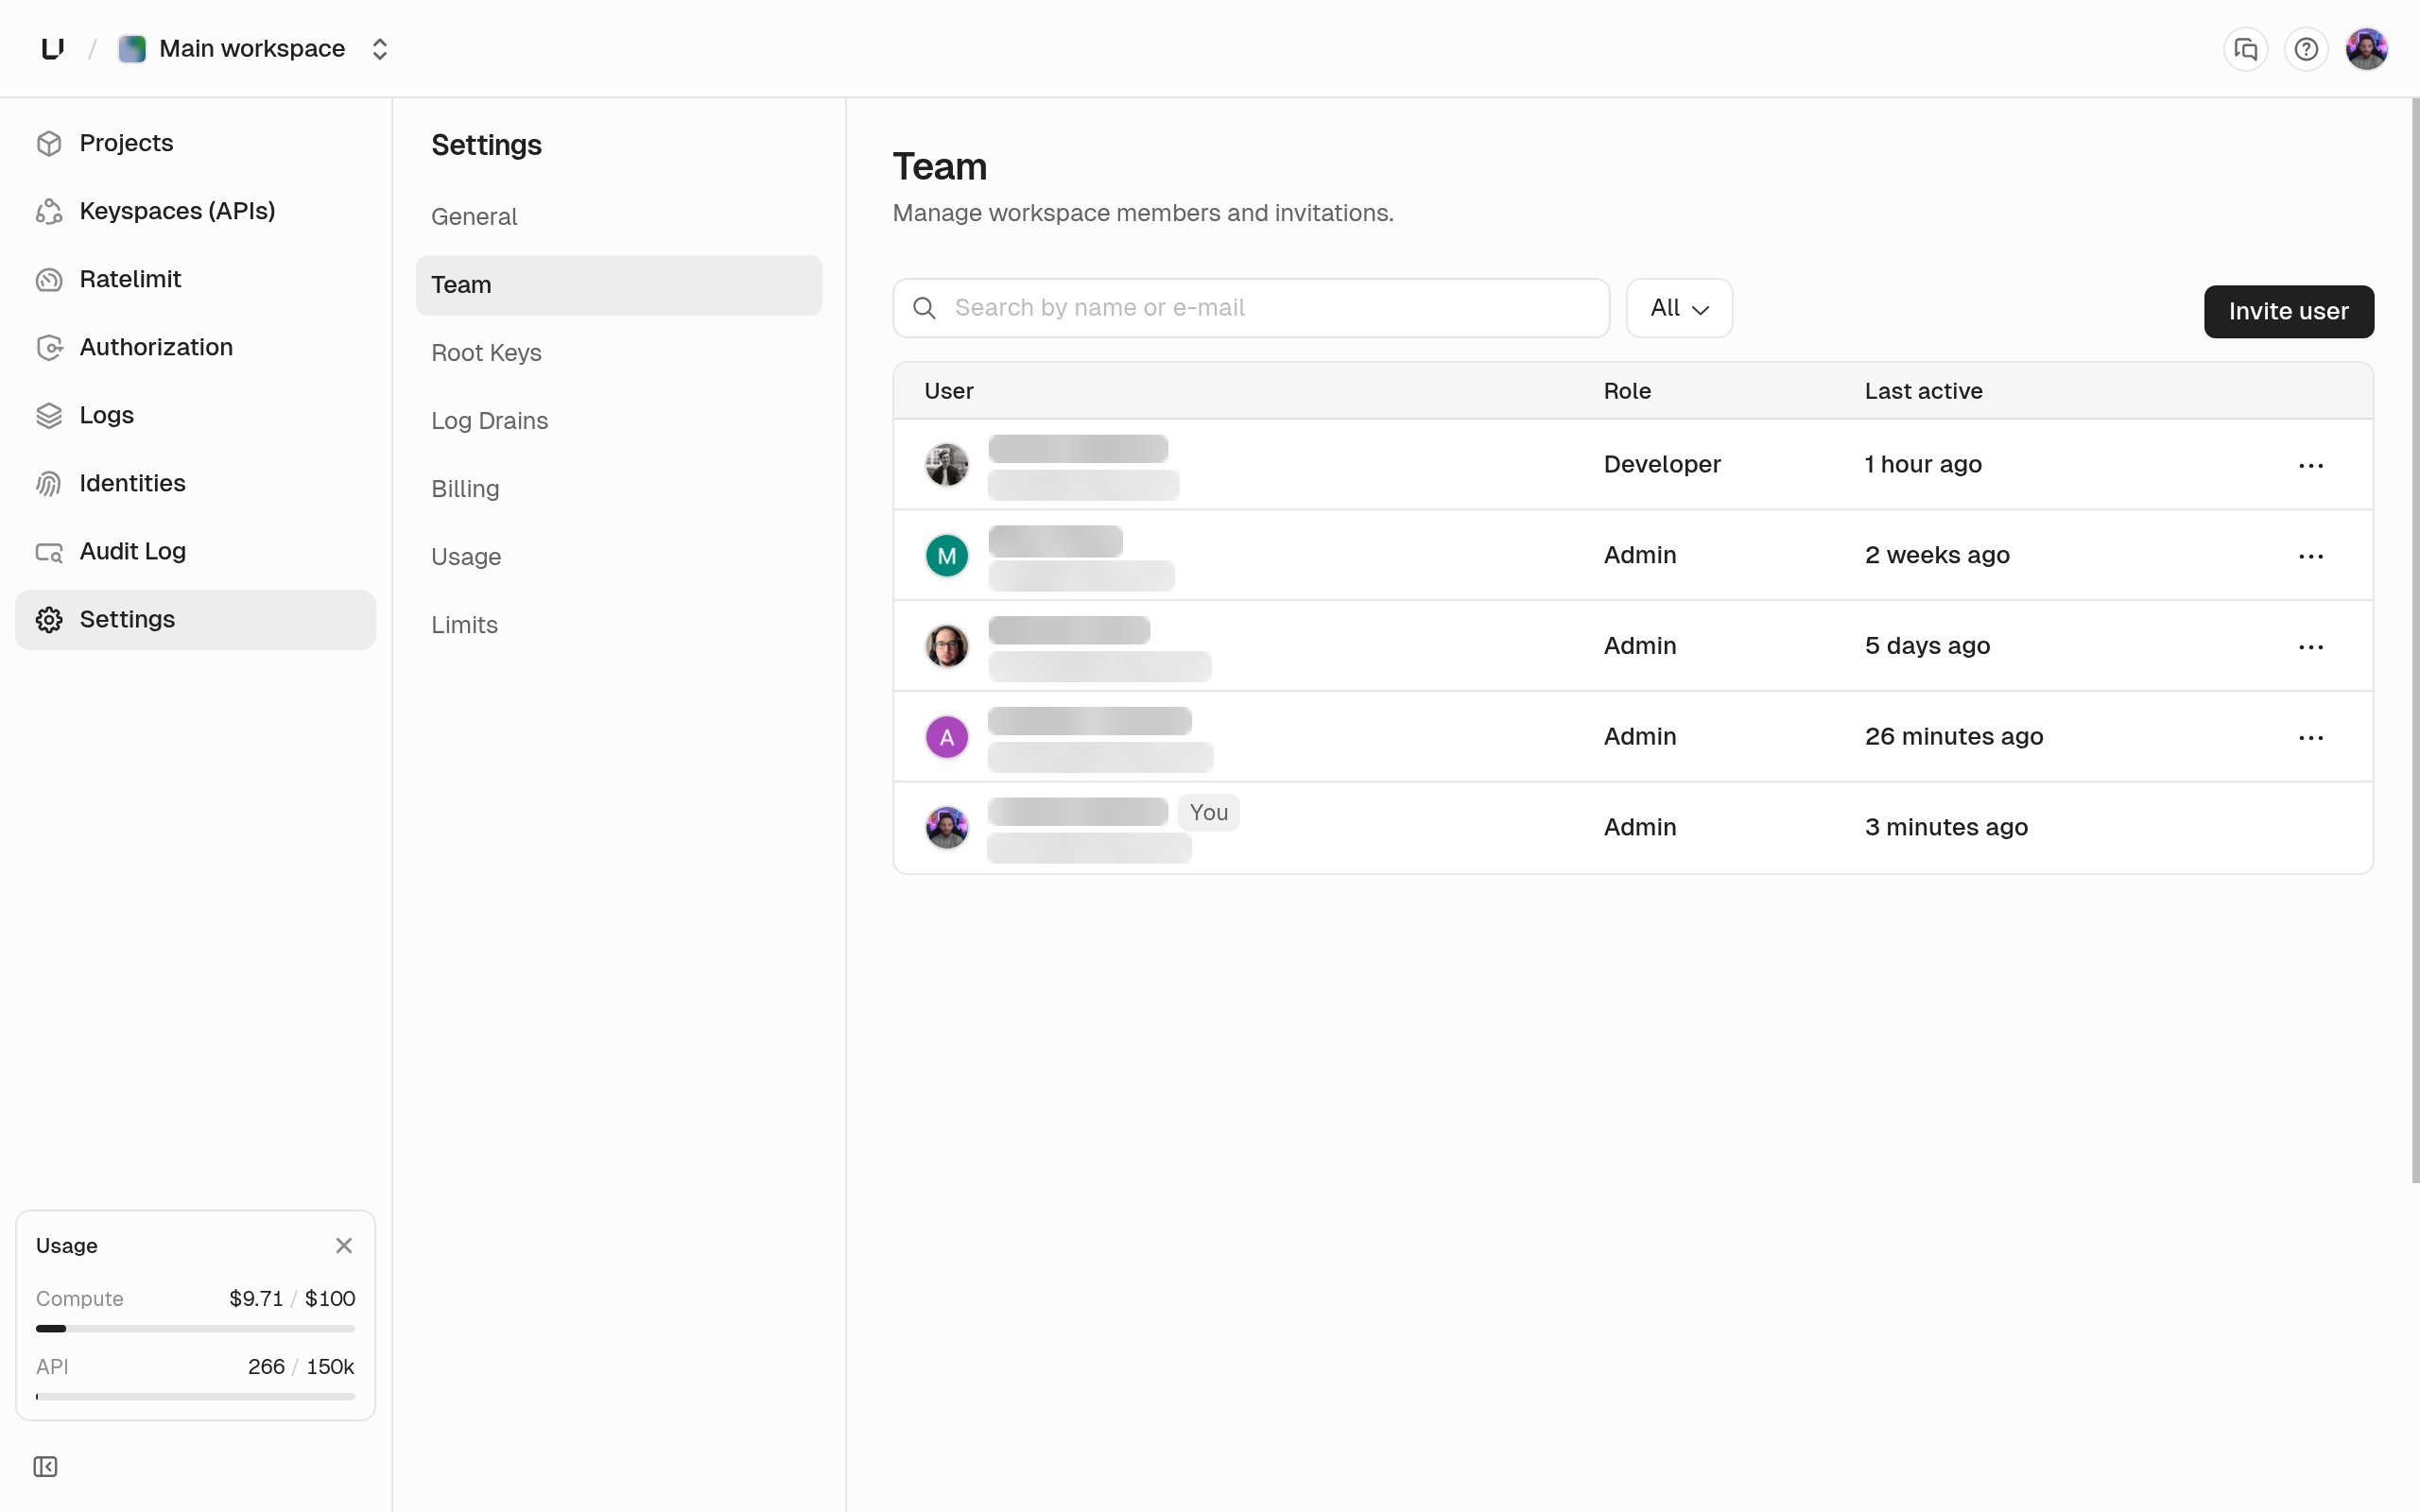
Invite someone
Click Invite user, enter their email address, and choose Admin or Developer. Invitations expire. If one shows as expired, send a new one.Change a role
Open the ⋯ menu on the member’s row and choose Edit role. Pick the new role from the dropdown and click Save.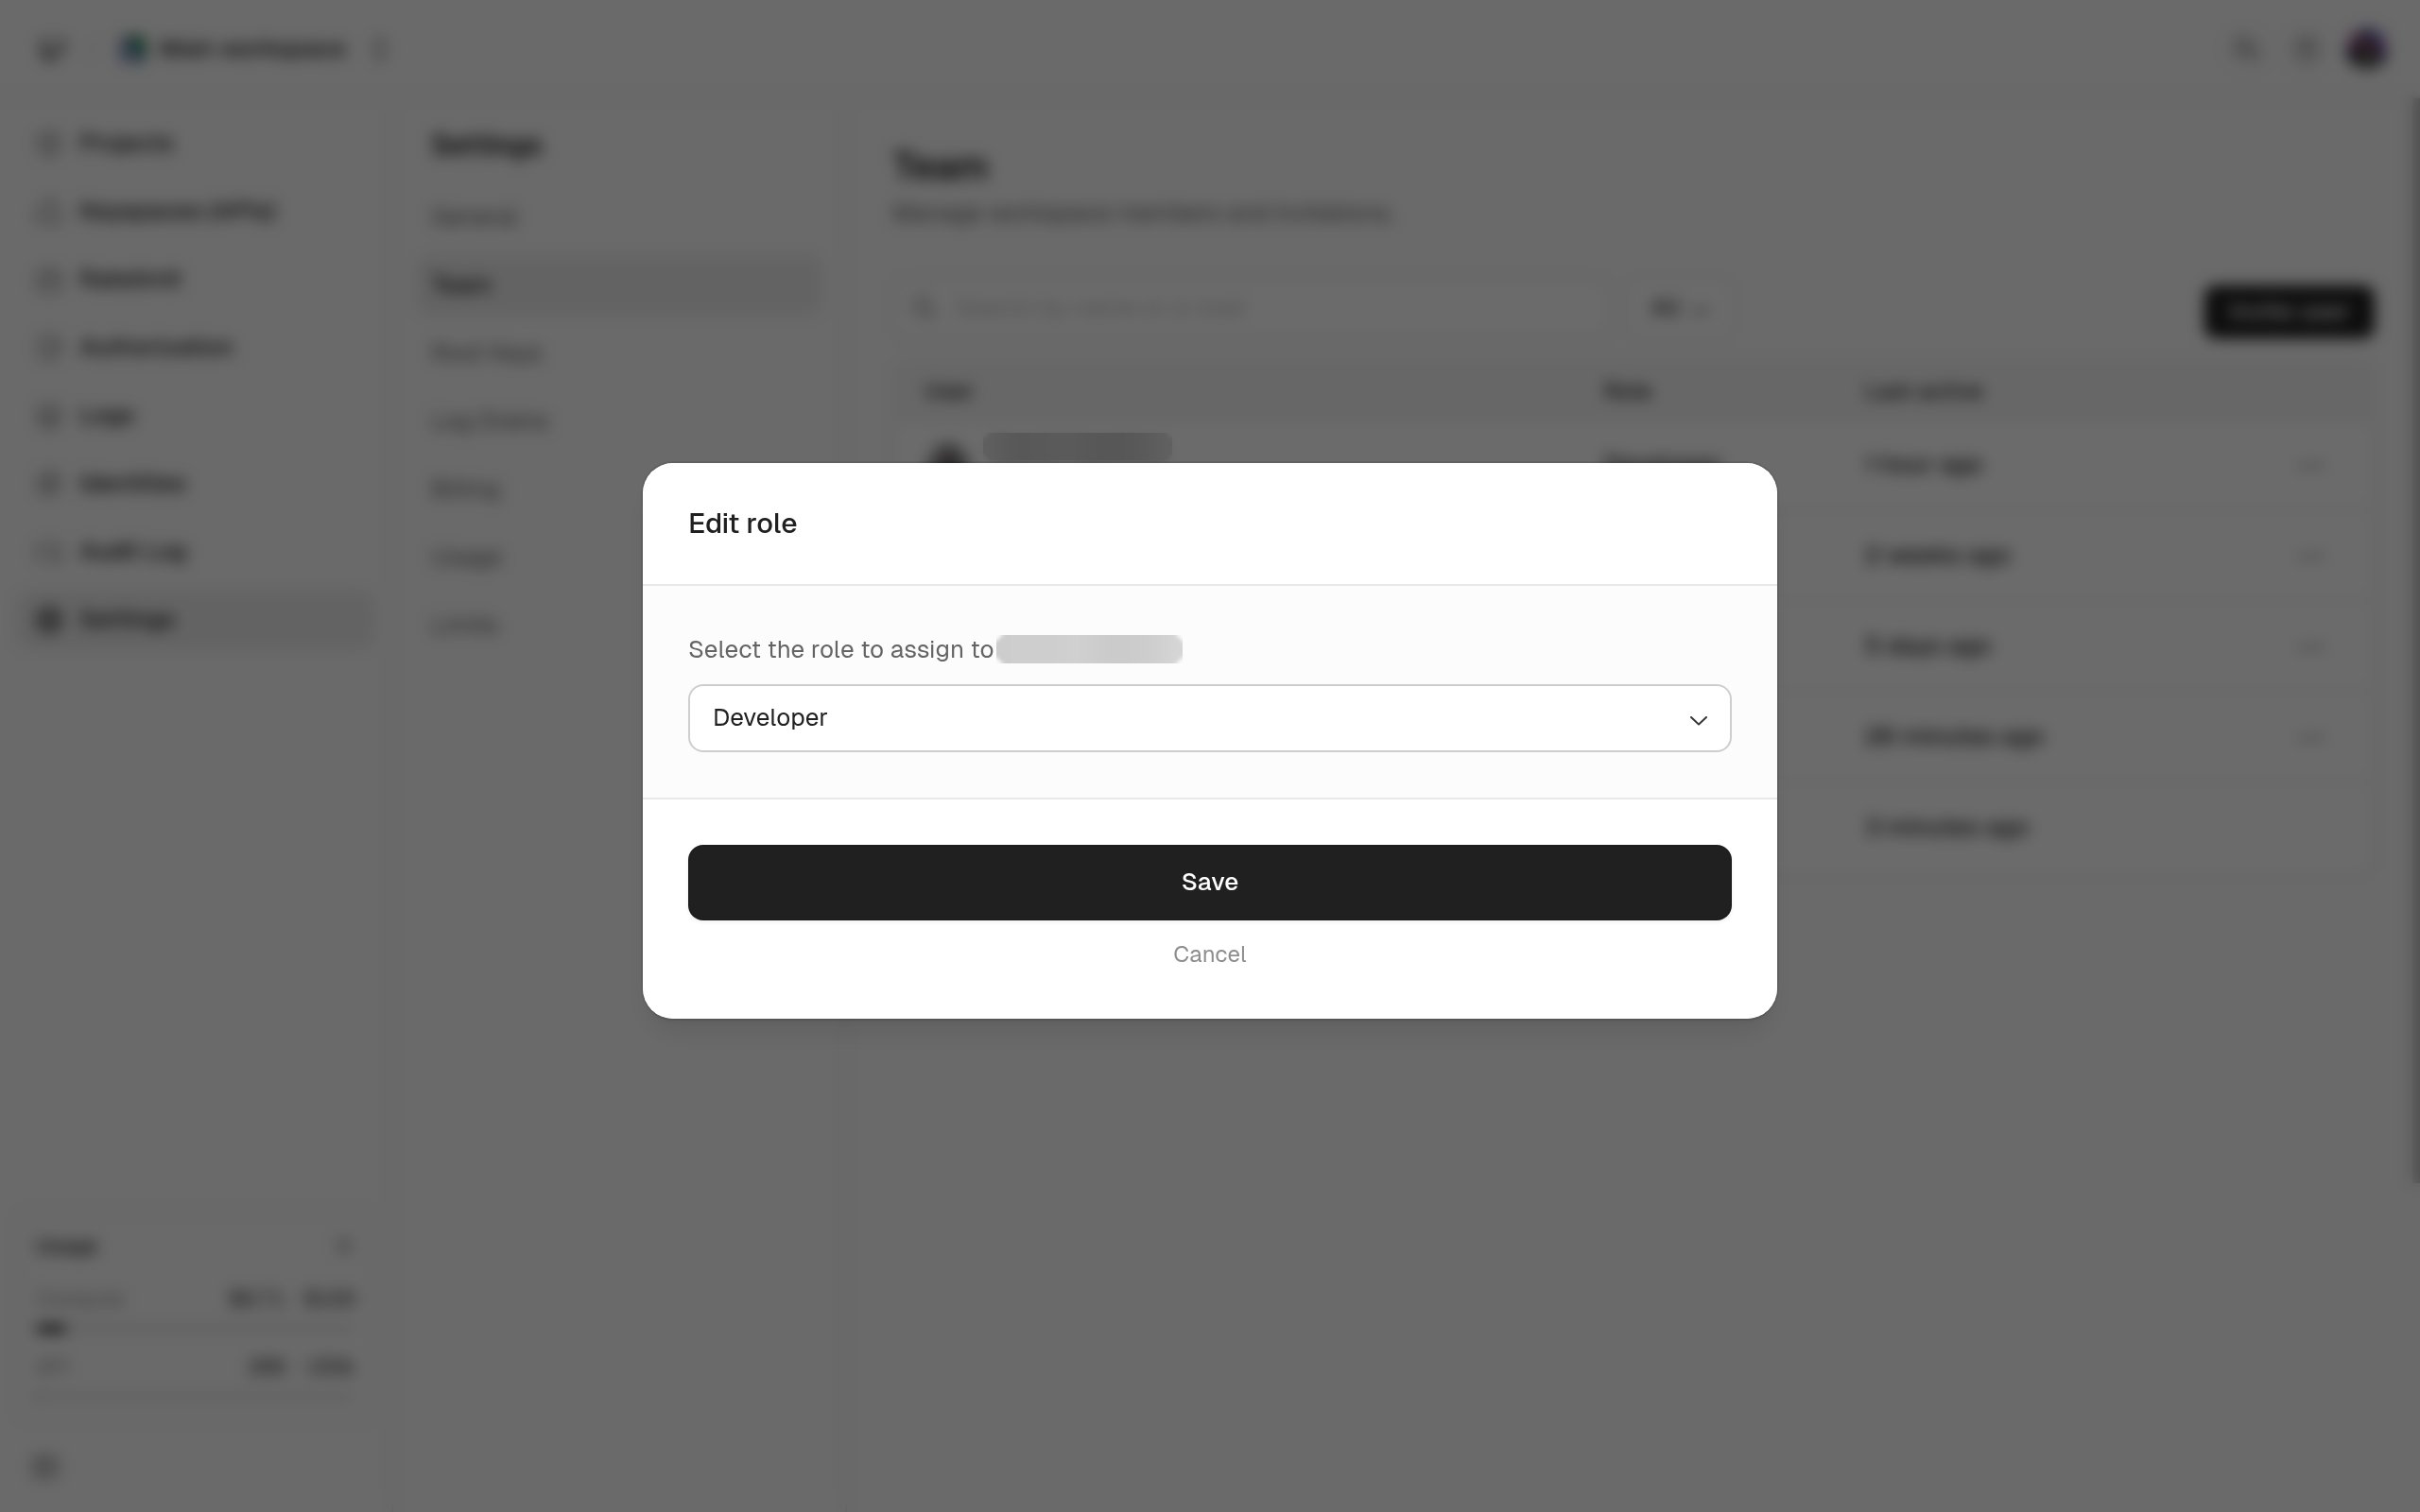
Remove someone
Open the ⋯ menu on the member’s row and choose Remove user. They lose dashboard access, but anything they created stays. Root keys keep working because they belong to the workspace, not to a person. To leave a workspace yourself, ask an admin to remove you.Two-factor authentication
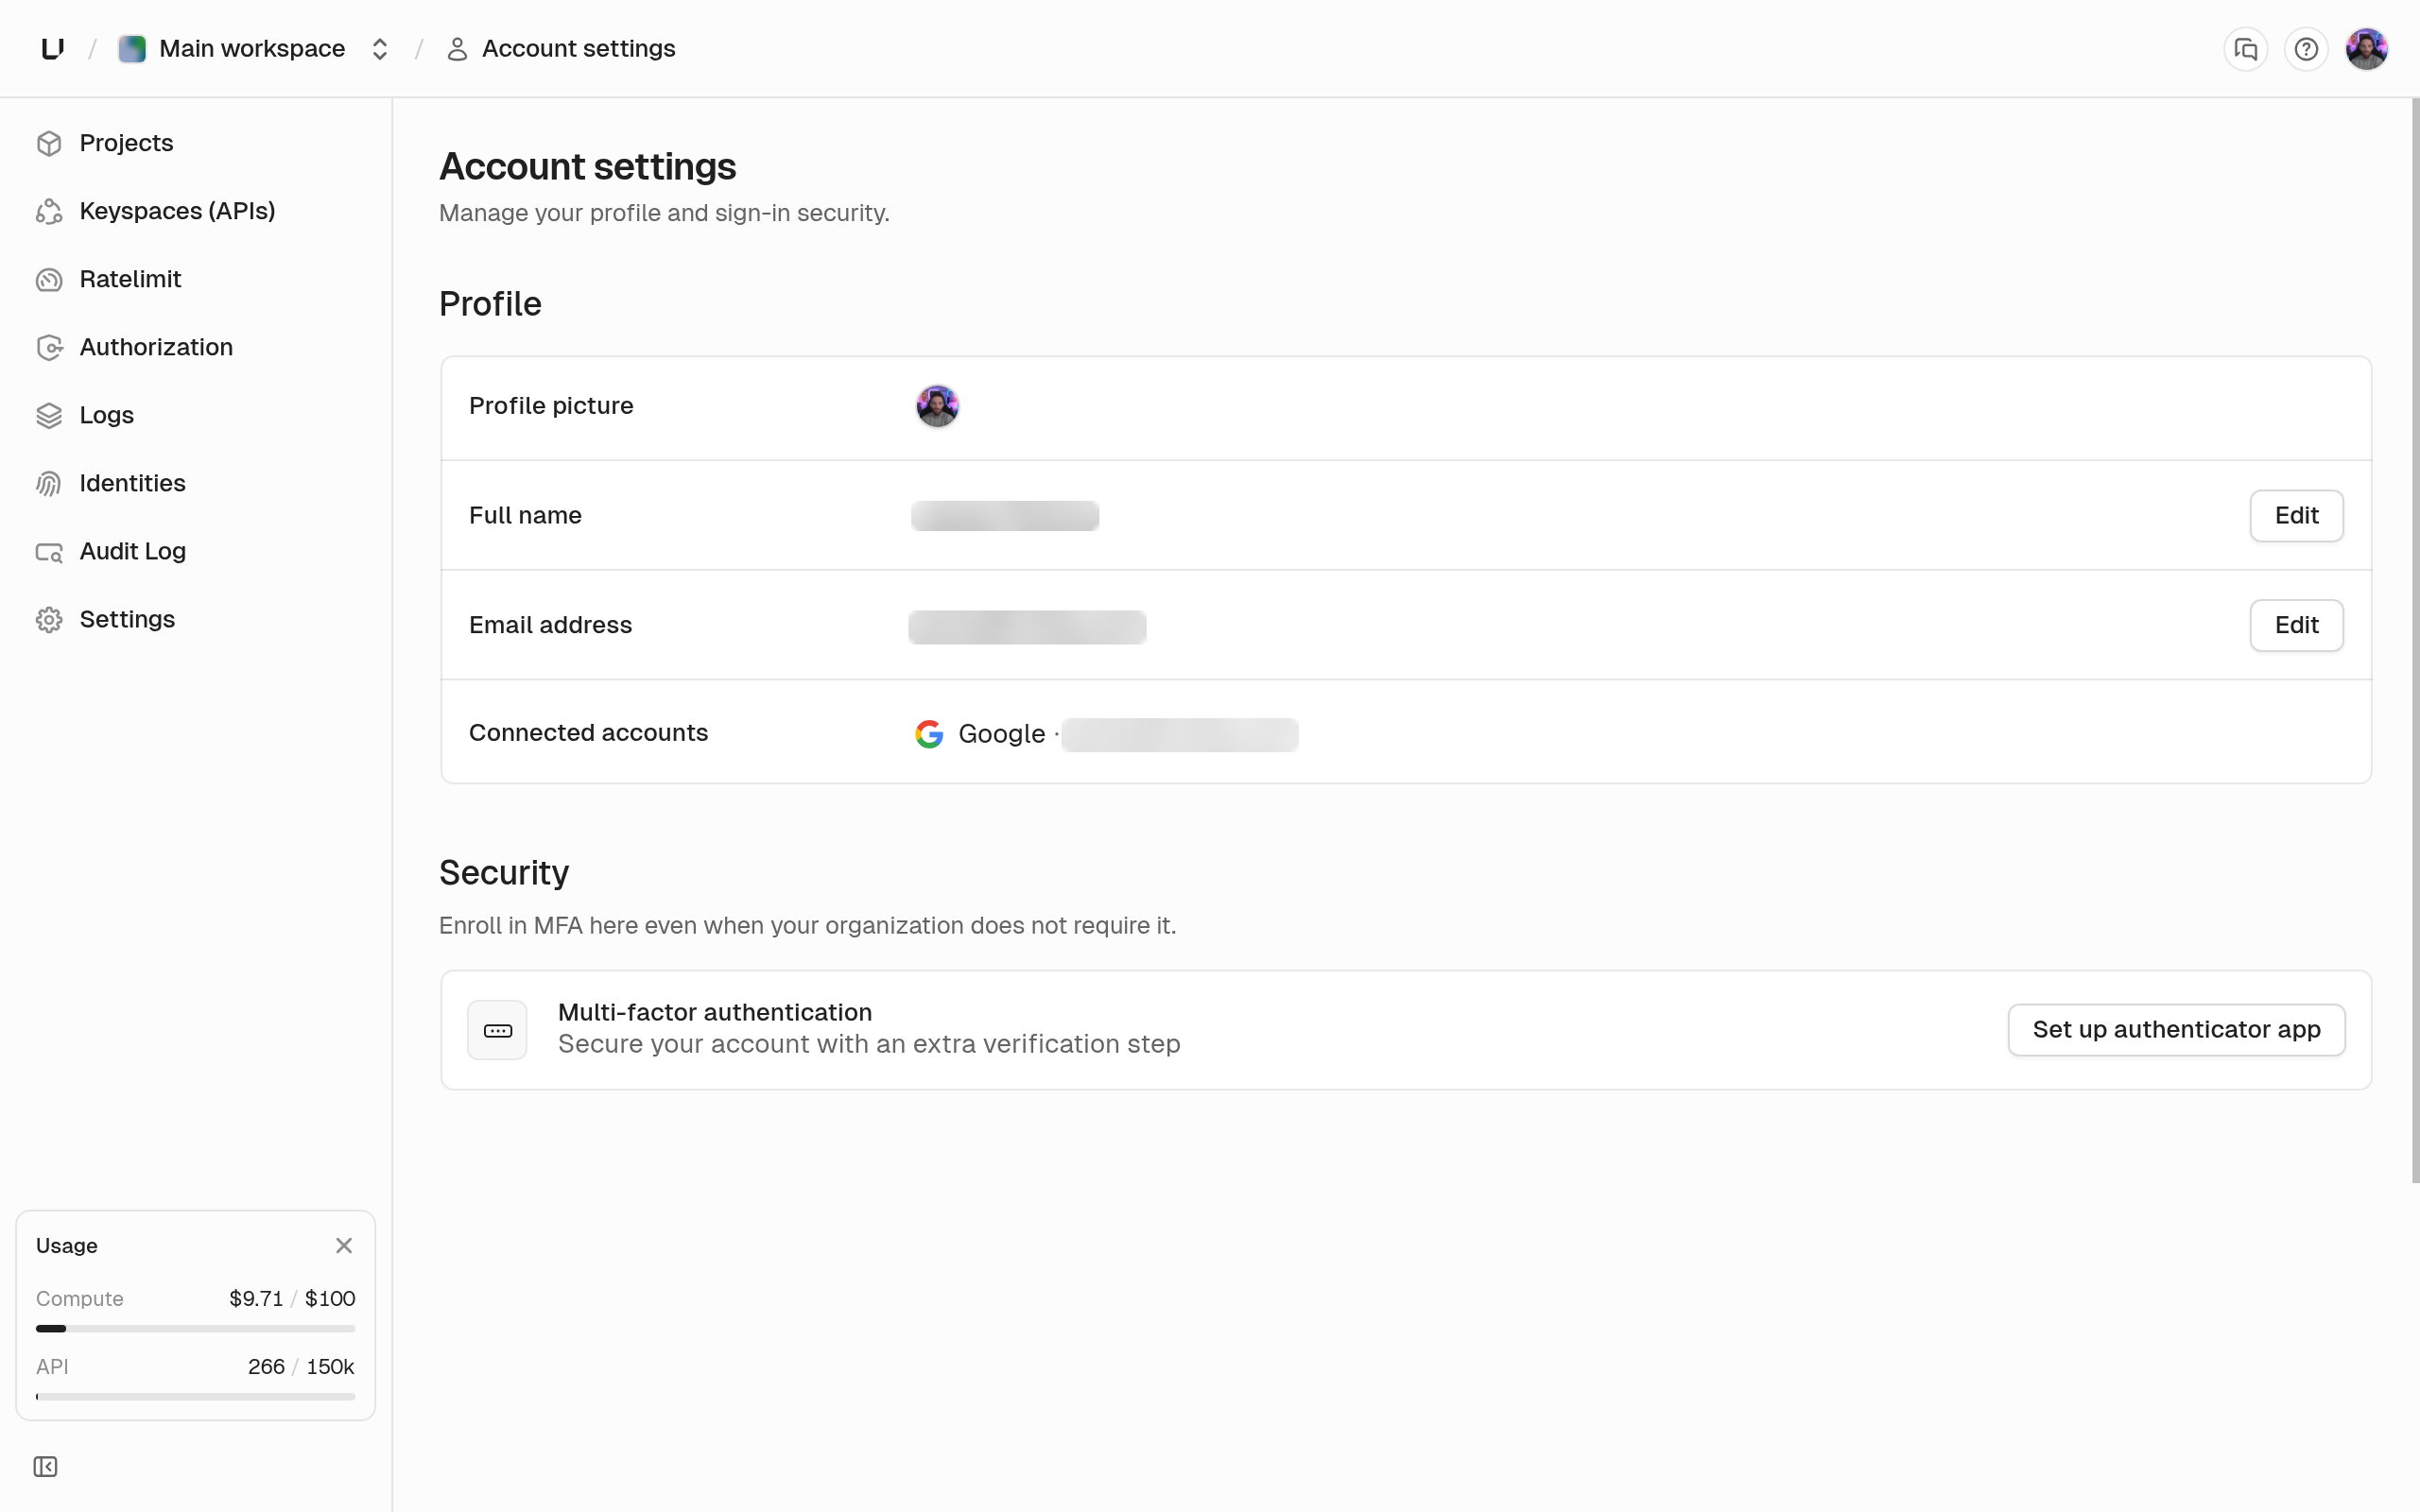
Two-factor authentication (2FA) adds a second step to your sign-in. It belongs to your user account, so one enrollment protects every workspace you sign in to. Open Account settings from the user menu in the top navigation. Under Security, click Set up authenticator app next to Multi-factor authentication. You can enroll even if your organization doesn’t require MFA. WorkOS, the identity provider behind Unkey sign-in, runs the enrollment steps.